
Last week we began our exploration of Photoshop (PS). We talked about display resolution versus image resolution, the importance of high resolution images for print and how to check a photograph’s resolution.
We learned how to bring images into PS, how to do basic adjustments, how to navigate the menus and toolbar. We also talked about the different types of layers, how to organize with folders, and be tidy as we work.
We touched on gradients, color range and channels.
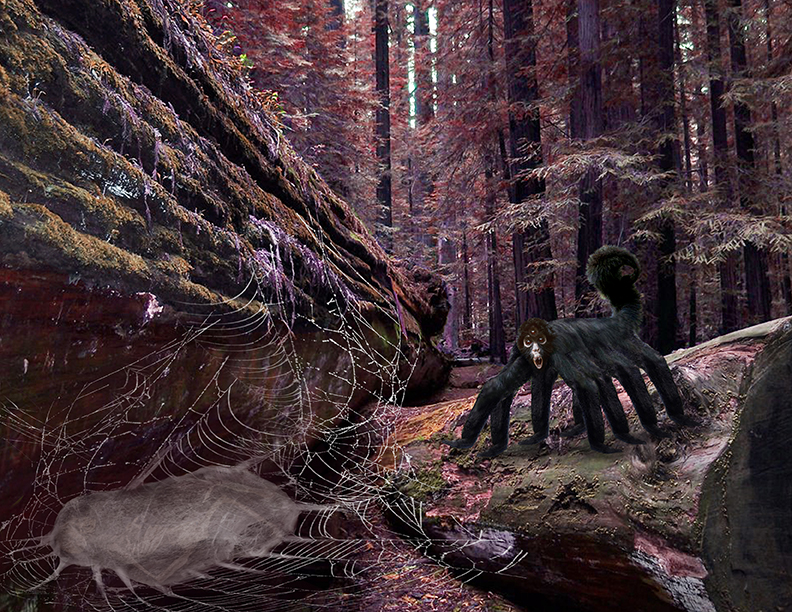
This week we will be working with our photos to create a digital composite. The first thing we will go over is how to bring in sketches to work with digitally. Then we will learn three different ways to silhouette or “mask” images from their backgrounds. We will practice the pen tool, to master the technique of efficiently hiding complicated backgrounds. I will talk a lot about the importance of a non-destructive workflow, and saving a work path in the Paths panel.. We will learn how to use the select and mask taskspace to mask out tricky hair and fur for a more natural look.
We will also take a look at how to blend the images together, and make them fit into their environment. We will get into blending modes, and finish up with creating shapes.
Things to remember:
— Masking does not mean erasing the background. We are hiding the background. We want to have the ability to go back to the original file. Sometimes you will need to readjust your image, adding back in some of the item silhouetted. A mask can always be adjusted with the direct selection tool.
— A work path needs to be saved. This is a necessary step, especially later when we bring silhouetted images into InDesign.
Here’s a great tutorial on the select and mask feature. And for pen tool practice, check out this fun game.
See you Thursday!

