
InDesign is the go-to software for page design, particularly for multi-page documents. Compatible with Photoshop and Illustrator, it is easy to bring in and layout bitmap and vector art, alongside body copy, display type and other graphic elements. The art files are linked to the InDesign document, but reside outside of it, keeping down the weight of the file size. InDesign will print these files in their native formats, whether raster or vector.
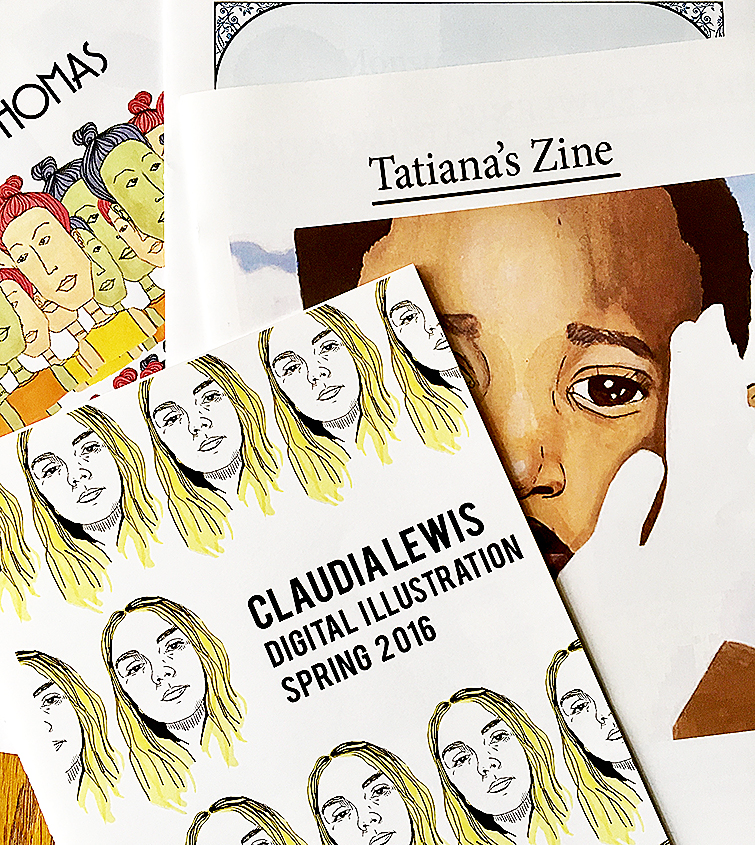
We will use InDesign to produce our final project, a 12-page zine comprising of the semester’s work. Once the print version is complete, we will also create an ebook, adding in some interactivity (your GIF, your logo animated, maybe a slideshow or a music file).
This week we’ll work on setting up your zine pages and placing artwork and text. For next week’s class, I’d like to see five sketches for your cover art design. The cover counts as a separate 10 points. Think of the cover as a way to bring together the separate projects of the semester. How can you unify your work? How will it represent you?
Popular key commands:
command j: go to page #
command d: file/place
w: turns off frame edges
option + shift : copy and keep alignment of a frame
command +/- (zoom in/out)
command opt 0 (centers spread)
command 0 (centers page)
command 1, 2, 4 (100%, 200%, 400% respectively)
Website links:
InDesign specific tutorials, plus free templates for menus, books, brochures
Typefaces in action

